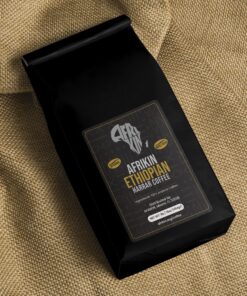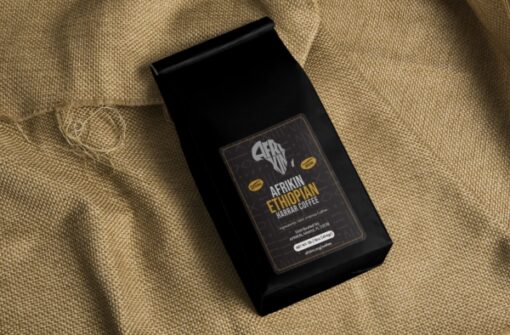



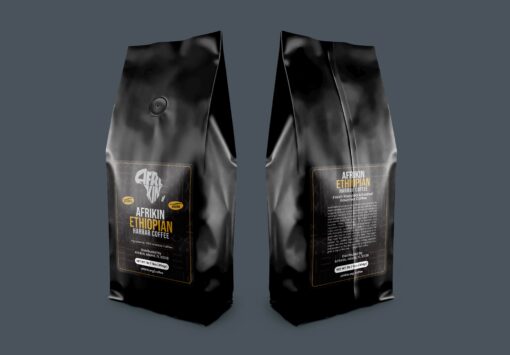




AfriKin Ground Coffee
$31.99
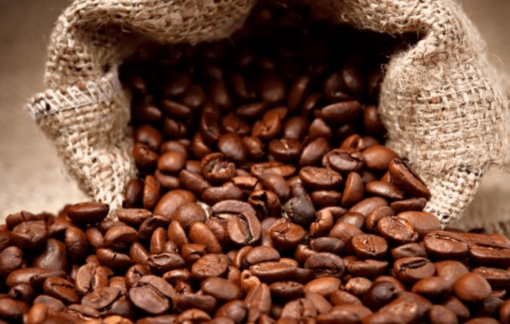
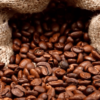
This is a 1lb bag of gourmet roasted artisanal coffee. Even before our gourmet coffee touches your lips, the fresh-roasted aroma lifts your senses. With this deep essence of flavor, our beans percolate conversations amongst baristas and coffee lovers alike. The taste and richness bring satisfaction and enjoyment that transcends time and space. Our coffee love story touches many intimately – it is personal and ingrained. Good coffee is felt on many levels – smell, taste, warmth, invigoration – poetry in a sip. Quality with character released by well cared for beans. We grow with love to share with you. A true work of art that must be followed from the start. The region chosen by Afrikin expresses appreciation in its origins. We offer the finest caliber coffees, prepared and packed on the day the order is dispatched. So, grab a cup of this love – a legend of coffee.
Do you want a pinnacle cup of coffee? AfriKin Ethiopia Harrar Ground Coffee is for you!
AfriKin Ethiopian Harrar coffee is one of a kind. With a boastful aroma and sweet berry notes, there is no better way to start off your morning than with a cup of Ethiopian Harrar.
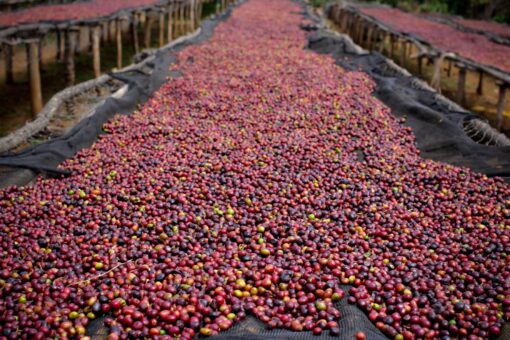
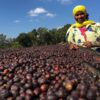
The Harrar coffee bean is hard to come by, like a perfect, ripe, hand-picked blackberry.
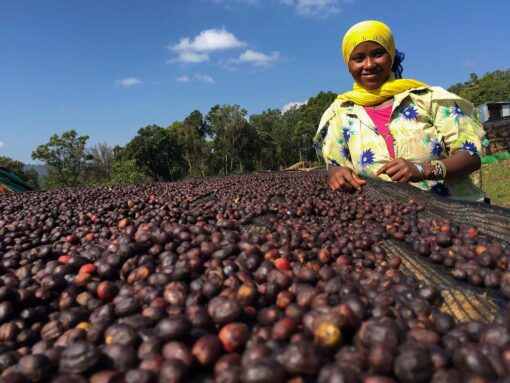
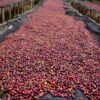
Quality Harrar coffee is bold and complex in character. Ranging from tones of cinnamon, cardamom, blackberry, apricots and compote, a smoky aroma. Found in the southern Ethiopian farms at 4,500 to 6,300 feet of elevation, the Harrar coffee is an exotic, natural Arabica coffee bean. The dry processing of the Harrar coffee beans brings forward its rich red wine and dark chocolate flavors. Many coffee lovers would highly recommend Ethiopian Harrar coffee as a post-dinner coffee.
Harrar coffee is a grade of 100% Arabica coffee. The coffee beans are grown at high altitudes in the Harrar region of Ethiopia. The Arabica bean may not have the most caffeine, but it is undoubtedly the best in flavor. To learn more about AfriKin and our artisan coffee, check out what our coffee connoisseurs have to say.
Roast Order:
ORDER BY 12 PM EST. – SHIPS SAME BUSINESS DAY
Our Roast Masters roast your coffee, hand package and directly ship coffee orders from afrikin.org. Your coffee will be roasted fresh and include the roast date on the bag
All orders placed before 12 pm EST will ship that day. Orders after 12 pm EST will be roasted and shipped the next business day.
BREWING OPTIONS
Step 1. Bring enough water to just below a boil (~200° F / ~93° C ) in order to brew the AFRIKIN coffee and pre-heat the V60 / decanter.
Step 2. Weigh out 20 grams of coffee and grind it medium.
Step 3. Place the V60 and filter on top of the decanter of your choice.
Step 4. Pour some hot water around the paper filter, eliminating any paper taste and pre-heating the V60 and the decanter, then throw the water out – you only want brewed coffee in your final drink.
Step 5. Place the coffee grounds into the V60 filter and give it a shake for even distribution.
Step 6. Pour just enough water to saturate the grounds evenly (about 30 grams) and rest for 30 seconds or however long it takes for the bloom to discontinue.
Step 7. Pour the remaining water continuously and evenly onto the grounds and in a circular fashion, moving inward and outward within the circle. The coffee level should rise just above the grounds. Finish the pouring by 1:40.
Step 8. Be careful not the pour the water directly on to the filter at any point and try to maintain a constant volume of water throughout the entire process.
Step 9. After the coffee has drained into the decanter by 2:30, you should be able to see consistent walls of grounds with an even bed toward the bottom of the cone.
Step 10. Trash the filter with grounds, give the V60 a quick rinse, and enjoy.
Now that you have gone out and bought an amazing French press, the question remains: how do you use it to make the perfect cup of coffee with your AFRIKIN Arabica coffee beans? Luckily, AFRIKIN is an expert in the art of brewing and pressing coffee beans in order to make the tastiest cup of joe; check out our Brew Guide for your new French press below!
The French press process can be summed up in as little as saying: boil water, pour over coffee grounds, wait six minutes, then press! However, since some systems may be a little more complex, AFRIKIN recommends sticking to the following steps when using your French press.
Step 1: Bring roughly 10.5 ounces of water to a boil at 200 degrees.
Step 2: Weigh out 20 grams of 100 % Arabica AFRIKIN Ethiopian Harrar Coffee ground coarsely.
Step 3: Fill your French Press about ½ full with the boiling water (cooled 30 seconds) and press the plunger all the way down to the bottom and swirl. This will help warm up your French press so that it is ready to be used. After 10 seconds of swirling the water, pour it out.
Step 4: This part is called the “bloom”. Pour the 20 grams of ground coffee into the French press and pour your five ounces of water on top, making sure that you are distributing the water evenly and saturating all of the coffee grounds.
Step 5: Let the water sit on the saturated grounds for 30 seconds and then stir the coffee gently for five seconds to break up the crust-like layer that formed during the bloom process.
Step 6: After everything has been mixed evenly with the first five ounces of water, pour the remaining five ounces of water on top, place the lid on your French press, and make sure that the plunger is all the way at the top.
Step 7: Let the coffee seep for another four minutes.
Step 8: Very slowly and carefully press the plunger all the way down to filter the grounds from the coffee.
Step 9: Don’t let it sit too long in the French press or your coffee will turn bitter; instead, immediately pour your coffee and enjoy!
The coffee experts at AfriKin have the following Chemex® brew guide for our coffee enthusiasts to be able to brew the perfect cup of coffee in the comfort of their own home, without a barista. However, keep in mind that depending on whether you have a 6-cup or 8-cup Chemex® system, the instructions may be slightly altered.
What you need:
6-cup or 8-cup Chemex®
Chemex® filter
Grinder
4 or 6 tablespoons of your favorite AFRIKIN Ethiopian Harrar coffee
Boiling hot water
Timer
Stir stick
Scale
Instructions:
Step 1. Situate the Chemex® filter in the brewer and make sure that the single fold is facing away from the spout and that the multiple folds are lined up against the spout.
Step 2. Dampen the filter with hot water so that it seals against the sides of the spout, then dump out the excess water.
Step 3. Weigh out roughly 50 grams of your favorite AfriKin coffee, grind it until coarse and place in your brewer on top of the scale, then zero out the scale.
Step 4. Boil 1,200-1,400 grams of water for a 6-cup Chemex®.
Step 5. When you start pouring the hot water into the filter, immediately set your timer.
Step 6. Pour the hot water until all of your Arabica coffee grounds are saturated.
Step 7. Stir the saturated grounds with a stir stick so that no clumps form.
Step 8. When your timer hits 45 seconds, start the second pour. Start this pour by using a wiggling motion, then switch to a gentle swirling motion until the spout of the Chemex® is filled with only about a fingertip length from the top – or roughly 450g of water have been poured.
Step 9. Once your timer reaches 1 minute and 45 seconds, fill your Chemex® brewer flush to the top with about 700g of water.
Step 10. Once your timer reaches 4 minutes, your Chemex® should be pretty close to the full volume of 1,200g.
Step 11. Look at the glass bubble, which should indicate that you have roughly 20 ounces.
Step 12. Lift the filter and let it drain for a couple of seconds, then pull the Chemex® filter completely out and dispose it.
Step 13. Swirl your Chemex® around to mix the brew a little, pour in your favorite mug and enjoy! You should have enough for 2 cups to indulge or share!
So, how can you make awesome cold brew in the comfort of your own home, without having to drive to the local café or barista? AFRIKIN not only supplies the most delicious Arabica coffee beans, but we also have a cold brew guide for turning our amazing Arabica coffee beans into cold coffee perfection!
First off, it’s nice to know why cold brew coffee is such a popular way of enjoying coffee. Since cold brew is cut 50/50 with milk, water, or other mixers, it is perfect for those looking for a subtle coffee flavor with a sweet touch and lower concentration of acidity.
Here at AfriKin we prefer to brew our cold brew using the following brew guide:
Step 1. Take one pound of your favorite AfriKin coffee and ground it until coarse.
Step 2. Combine your one pound of AfriKin coffee grounds with one pound of water (your amount of water should match the amount of grounds).
Step 3. Place the coffee grounds into the filter bag, and then place the bag into the brewing jug.
Step 4. Cover the filter filled with grounds with cold water, making sure that all of the grounds have been covered and saturated.
Step 5. Place the lid on your cold brewing jug and let it sit at room temperature for at least 12 hours. Remember, for cold brew – the longer it sits the better.
Step 6. After the time is up, voila! Pour your delicious AfriKin cold brew over ice, add some flavored syrup, creamer, and whatever else your heart desires, and
ENJOY a nice cold brew!
You know how you can let cherries soak in vodka until the vodka tastes like cherries? That’s exactly what cold brew does! AFRIKIN not only wants coffee aficionados to understand why cold brew is awesome, but also the process behind making it; simply keep in mind that if you soak something in water long enough, it will take on the taste.
When you are cold brewing coffee in your Cold Brew Jug, you are infusing the water to taste like coffee. While the process of heating coffee grounds creates higher acid levels in general, the acid level of cold brew is much lower than that of hot coffee. So, no matter how much you may love a good ole’ cup of hot joe, you may want to test out some cold brew and give your teeth a break!
Measurements: 320g (220g/~7.7 oz will be for your coffee) water; 17g or (~.6 oz, or one AeroPress Scoop) coffee
Grind: Fine (about the texture of table salt)
Filter: AeroPress filter
Step 1. Measure and grind. This is key to the best cup but grinding while mobile does impact the portability factor.
Step 2. Put the filter in the small black “basket.“ Affix to the bottom of the brew chamber.
Step 3. Wet. Preheat the brew chamber and plunger with hot water. This gets rid of paper flavor and preps the AeroPress. Discard the rinse water.
Step 4. Place the brewer on top of the mug and add coffee. You can use the coffee-loading funnel that’s included. Or not if you want to keep it simple.
Step 5. Start your timer when you pour the water (just off the boil or about 205F/~96C) into your brewer. Saturate all the coffee grounds within 10 seconds.
Step 6. Fill to the No. 4 on the brew chamber, then stir the “slurry“ (coffee and water mixture). A paddle is included but you can use whatever’s handy.
Step 7. Place the plunger on the brew chamber and pull up slightly to create a pressure seal. Don’t plunge yet!
Step 8. At 1:15, remove the pressure seal and give the slurry another stir. Put the plunger back on and gently press down with steady pressure, stopping as soon as you hear a hissing sound. This entire brew process should take just under two minutes and yield an espresso-like cup. Add hot water to taste.
Adjust: If your coffee tastes too weak, you might use a finer grind. You may also be accustomed to the bite of a less smooth brew. Try using more coffee or use less hot water to dilute the espresso. If you’re finding the AeroPress difficult to press, you may be pressing too hard. Try depressing in increments until you hear air escaping from the chamber. Now pressing down to the coffee puck will be easy.
Profile Medium roast
Location Djimma Region
Altitude 1,880-2,180 meters
Varieties Heirloom varieties selected for quality and resilience
Process Natural Drying Sun-dried on raised beds
Harvest October-January Export May-July
100% Arabica coffee
Roasted in Florida
| Weight | 16 oz |
|---|

